| Career & Activity | |
| Time Played | 43m 52s |
| Matches Played
Matches Played Team Matches + Solo Matches. The two halves come from different sources — team from lifetime win/loss/draw counters, solo counted from match records — so they can drift apart if match history is ever cleared. | 3 |
| First Seen | |
| Last Seen | |
|
Match Participation Rate
The share of every match ever played on this server that you were in. 100% means you have been present for all of them. |
100% (of 2 server matches) |
| Matches / Week Matches / Week Matches played ÷ weeks between first and last seen, with the span floored at one week so a single-evening career is not divided by a fraction. | 3 (average while active) |
| Online Streak Online Streak Longest run of consecutive calendar days on which you played at least one match. A current streak is shown alongside it only while the run still reaches today or yesterday. Days are counted on server time (PDT) rather than your own, so this number is the same for everyone looking at it. Timestamps elsewhere on the site are shown in your timezone. | 1 day best · 1 current |
| Favourite Game Type | TeamKingOfTheHill |
| Rank Points | -8.1 |
| Combat Stats | ||
| Total | P/Min | |
|---|---|---|
| Kills | 1 | 0.02 |
| Deaths | 31 | 0.71 |
| K/D Ratio | 0.03 | - |
| Dominance Factor Dominance Factor (kills − deaths) ÷ (kills + deaths), on a scale of -1.00 to 1.00. Unlike K/D it accounts for the proportion of your engagements rather than the raw ratio: 0.00 means you kill and die in equal measure, positive means you win more fights than you lose. Needs at least 50 kills and deaths combined to show a value. | ? | - |
| Consistency Consistency How steady your per-match results are, 0–100. Measured as the spread (standard deviation) of your Dominance Factor across matches, inverted so 100 means every match looks the same and 0 means wild swings. Deliberately not the spread of K/D: K/D is undefined in a match where you did not die, is skewed by its unbounded top end, and its absolute spread grows with skill — which would score a strong player as less consistent than a weak one. It says nothing about whether you are good, only whether you are predictable. Needs 5 matches. | -2 of 5 matches | - |
| Sniper Kills | 1 | 0.03 |
| Sniper Kill % | 100% | - |
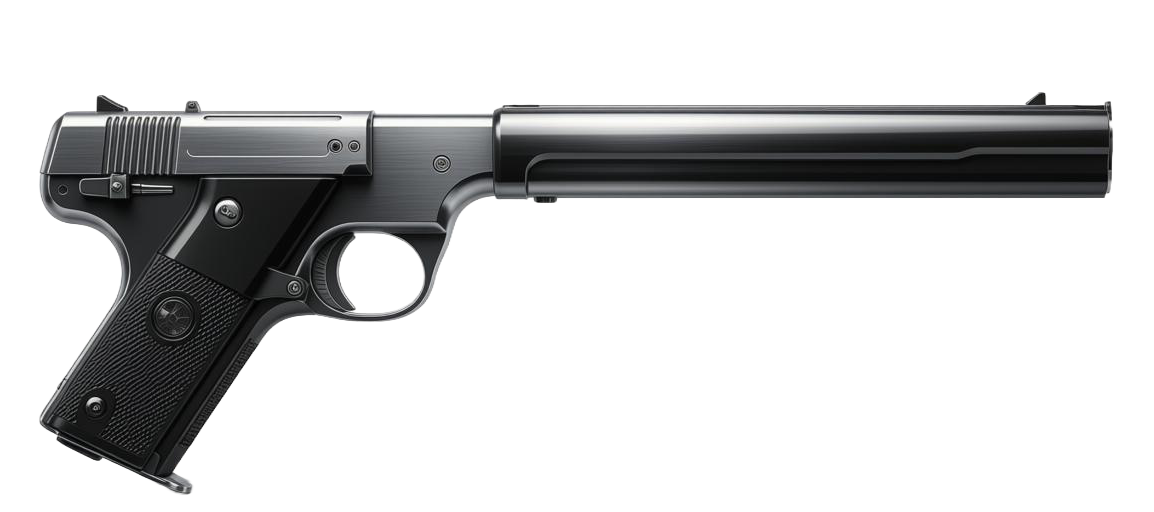
| Pistol Kills | 0 | 0 |
| Pistol Kill % | 0% | - |
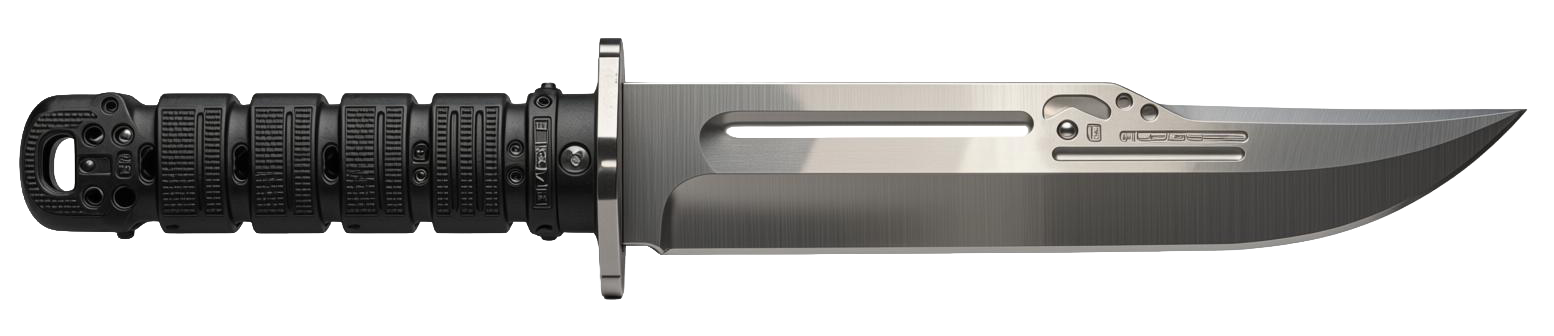
| Knife Kills | 0 | - |
| Knife Kill % | 0% | - |
| Headshots | 0 | 0 |
| Headshot % | 0% | - |
| Total Shots | 5 | 0.11 |
| Accuracy | 20% | - |
| Combat Score Combat Score kills×1 + headshots×1.5 + knife kills×3 + average streak×2, over your whole career. It only ever grows, so it measures cumulative achievement rather than current skill — see Combat Rating for that. | 1.1 | - |
| Combat Rating Combat Rating Combat Score per minute of play time, scaled 0–100 against the server's best performer. 100 means you are the top combat player here. Unlike Combat Score this does not reward simply playing longer. | 1.1 | - |
| Suicides | 4 | 0.09 |
| Murders (TK) Murders DF1's name for a team kill — killing a player on your own side. Counted against you: the rank point value for it is negative, so a high number here costs you standing rather than earning it. | 0 | 0 |
| Highest Kill Streak | 1 | - |
| Weapon of the Week Kills Weapon of the Week Kills Kills made with the weapon currently featured as Weapon of the Week, which rotates every week and is shown in the banner at the top of the page. Each one pays bonus rank points on top of the normal kill. The total is lifetime — kills earned under previous weapons keep counting. | 1 | - |
| Best Weapon | Barrett .50 (1 kills) | - |
| Objectives | ||
| Total | P/Min | |
|---|---|---|
| Flags | 0 | - |
| Flag Pickups | 0 | - |
| Flag Saves | 0 | - |
| Flag Efficiency Flag Efficiency Captures ÷ pickups. How often picking up the flag actually ends in a capture rather than losing it. | - | - |
| Flags per Life Flags per Life Captures ÷ deaths. Deaths are lives ended, so this is how much you tend to achieve before dying — a risk-management measure rather than a volume one. | 0 | - |
| Flag Carrier Kills Flag Carrier Kills Kills you made against the player carrying the flag. | 0 | - |
| Zone Defend Zone Defend Kills you made while you were holding the zone, after at least 2 seconds of sustained presence in it. | 0 | 0 |
| Zone Attack Zone Attack The mirror of Zone Defend: kills you made against someone who was holding the zone, after at least 2 seconds of presence in it. | 0 | 0 |
| Zone Time | 0s | - |
| Zone Time % Zone Time % Share of your time in zone game types spent actually inside the zone. Denominated in King of the Hill time only, so playing other modes does not drag it down. | 0% (of zone-mode time) | - |
| Zone Time per Life | 0s | - |
| Objective Score Objective Score captures×10 + pickups×4 + saves×4 + carrier kills×3 + zone attack×3 + zone defend×2 + whole minutes in the zone. All objective work, including the parts that need kills. | 0 | 0 |
| Support/Defense Score Support/Defense Score captures×10 + pickups×4 + saves×4 + whole minutes in the zone. The subset of Objective Score that does not require killing anyone — contribution that never shows up in a K/D. | 0 | 0 |
| Match Results | |
| Team Matches | 3 |
| Solo Matches Solo Matches DeathMatch and King of the Hill have no teams, so they never produce a win, loss or draw. They are counted from the match records instead. Team Matches above is simply wins + losses + draws. | 0 (DM / KOTH) |
| Wins | 0 |
| Losses | 1 |
| Draws | 2 |
| Total Win % | 0% |
| Team MVP MVP Awarded to the highest-scoring player when a match ends, weighted per game type. Capture the Flag: captures×10, saves×5, carrier kills×4, pickups×3, kills×1. Team King of the Hill: zone attack×4, zone defend×3, zone time×2, kills×1. DeathMatch: kills×1, headshots×2, knife×3. | 0 |
| Solo MVP | 0 |
| First Bloods First Bloods Matches where you scored the first kill. | 0 |
| Best Map Best Map The map where your average per-match Dominance Factor most exceeds your own overall average. Measured against yourself rather than in absolute terms, so it shows where you outperform your baseline instead of just which map is easiest. Needs at least 3 matches on a map to qualify, and at least two qualifying maps. | - |
| Worst Map Worst Map The qualifying map where your average per-match Dominance Factor falls furthest below your own overall average. Same threshold as Best Map. | - |
| 1 | test nemesis | 1 kills on you |
| No kills recorded yet. |
| Weapon | Kills | Share Kill Share What portion of all your weapon kills came from this one. Shows how much of your loadout you actually rely on. | Shots | Shots/Kill Shots per Kill Total shots fired with this weapon divided by kills with it. Lower is better. It is not a pure aim measure. DF1 records shots and kills but never hits, so this mixes shots that missed with shots that connected but did not kill — some weapons need two or three body hits. A high number can mean poor aim, a weak weapon, or spraying, and this cannot tell them apart. | Headshots | HS % | KPM Kills per Minute Kills per minute while actually holding this weapon. Independent of Shots/Kill: a sniper can need very few shots per kill and still have a low KPM because of its fire rate, while an automatic weapon does the reverse. | Time Used | Mastery Mastery A level derived from kills with this weapon, on a square-root curve, so early levels come quickly and later ones take progressively more kills. The bar shows progress toward the next level. | |
|---|---|---|---|---|---|---|---|---|---|---|
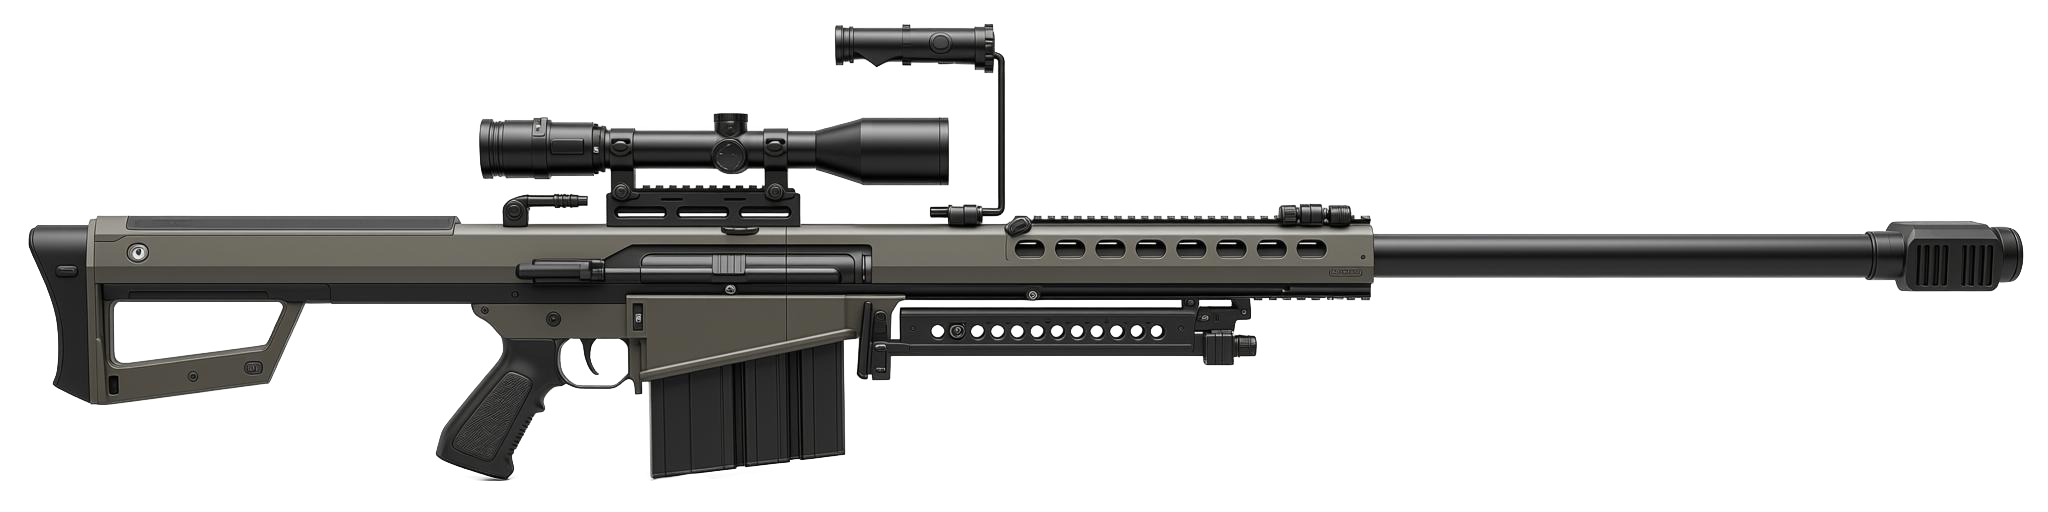
| Barrett .50 | 1 | 100% | 1 | 1 | 0 | 0% | 0.03 | 30m | ||
| HS .22 | 0 | 0% | 0 | - | 0 | - | 0 | 0m | ||
| Knife | 0 | 0% | 0 | - | 0 | - | 0 | 0m |
| Map | Matches Matches Completed matches recorded on this map. It is the sample size behind everything else in the row, and a map needs at least 3 to qualify as your Best or Worst Map. | Kills | Deaths | K/D | vs Avg Versus Your Average How your average per-match result on this map compares with your own overall average, on the same −1 to +1 scale as Dominance. Positive means you do better here than you usually do. Measured against yourself on purpose: ranking maps in absolute terms just finds the easiest one. This is the same figure behind Best Map and Worst Map above. A dash means too few matches to judge. | KPM | Shots/Kill Shots per Kill Shots fired on this map divided by kills. Lower is better. Not a pure aim measure: DF1 records shots and kills but never hits, so this mixes shots that missed with shots that connected without killing. Map layout moves it too — long sightlines invite shots that were never going to land. | HS % | Time Played | |
|---|---|---|---|---|---|---|---|---|---|---|
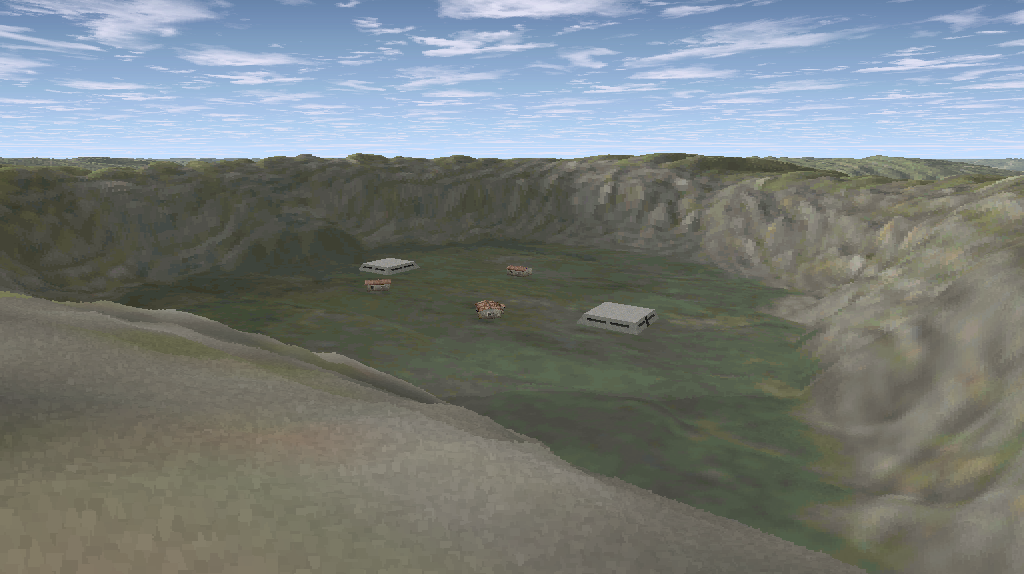
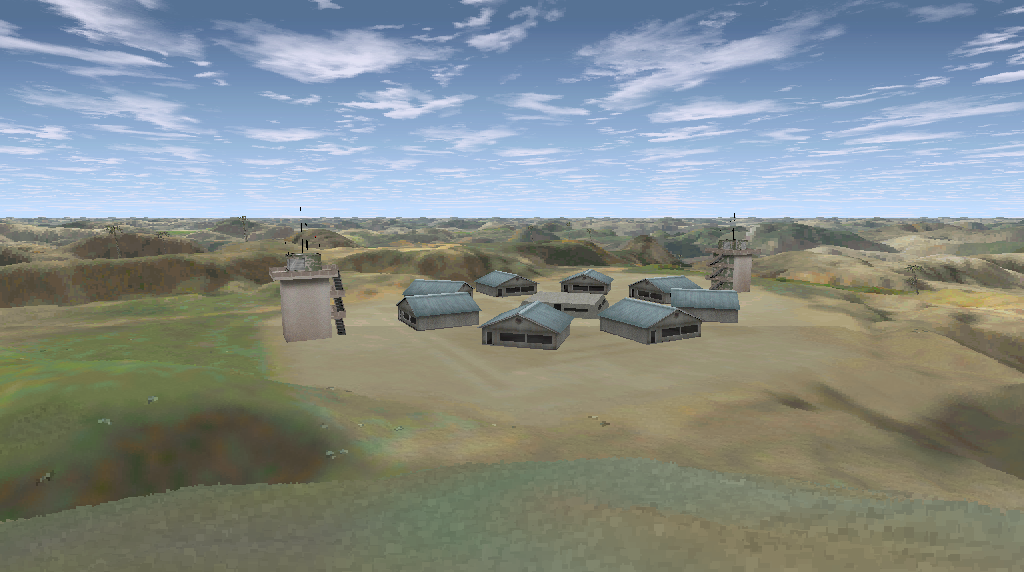
| TKOTH Rocky Desert | 2 | 1 | 31 | 0.03 | - | 0.02 | 5 | 0% | 43m | |
| TKOTH Volcano | - | 0 | 0 | 0 | - | 0 | - | - | 0m |
No achievements configured.
No weapon achievements configured.